The better way to renovate


Video: How to measure your space
It's important to get the measurements correct for your brand new custom-made wardrobe. Please submit the smallest height and width measurement remembering to take into account levels.
1. Measure the height of your wardrobe
Measure from the base of the floor to the ceiling height. Input the smallest measurement into the myDIY Wardrobes builder, taking into account levels.
2. Measure the width of your wardrobe
Measure from the wall across to where you want your wardrobe to end. This is the maximum allowable width for your wardrobe.
Consider how much space you have, and how much storage you require. Input the smallest measurement into the myDIY Wardrobes builder.
3. Check the depth of your space
To maintain an economical product all depths are standard 600mm.
If you require a custom depth - Please contact a Packers wardrobe designer for a in-home measure and quote.
Wall Space
Now you have an idea as to the maximum width and height of your wardrobe, have a look at where your wardrobe will fit.
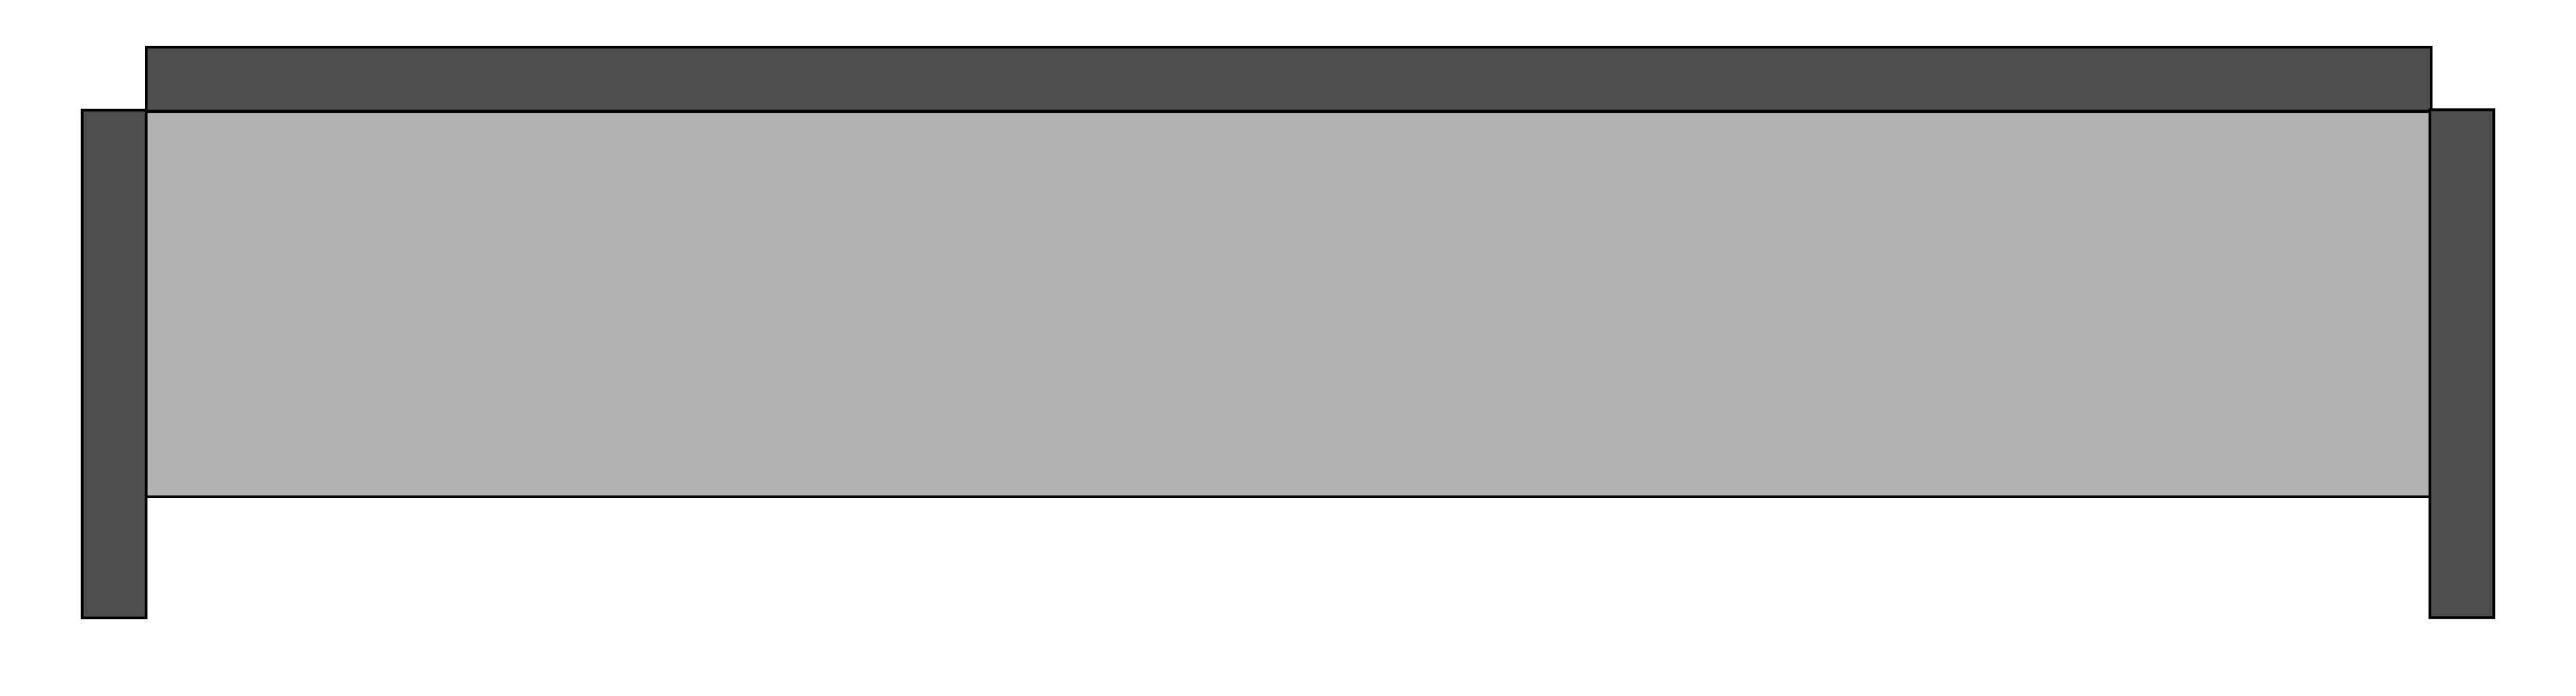
Wall to Wall
Location of the wardrobe is between two fixed walls.
580mm Min. Depth.
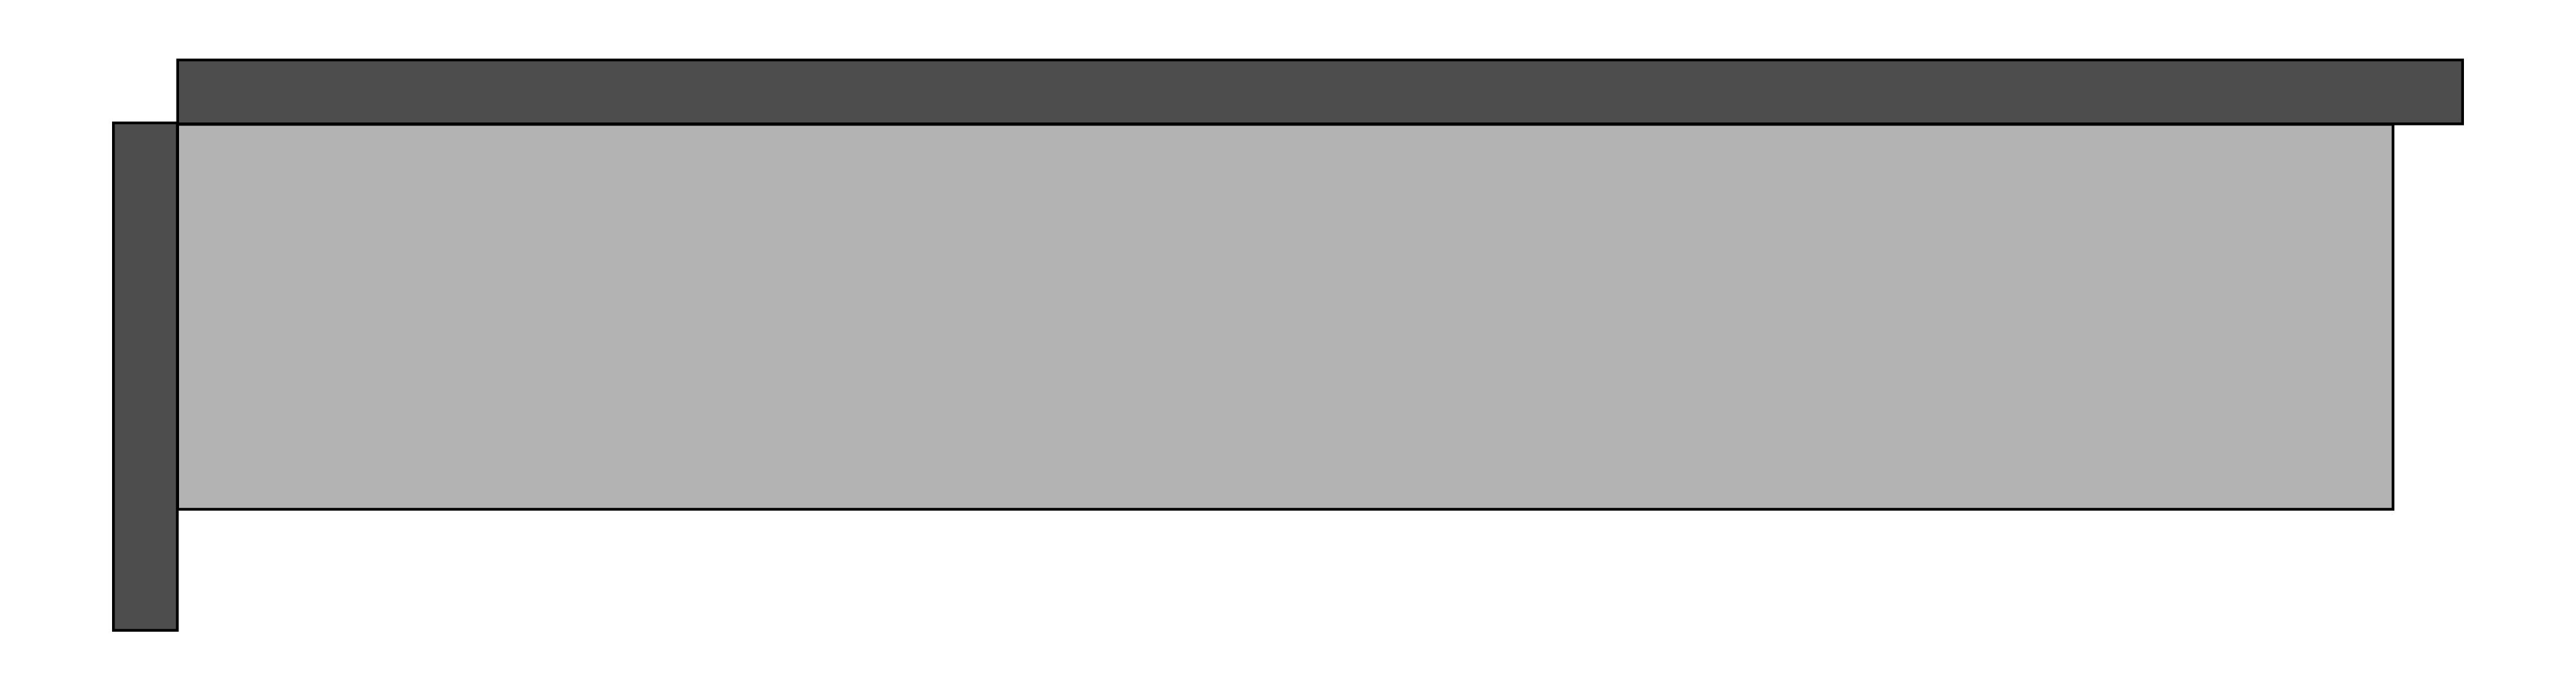
Wall to End
Location of the wardrobe has a fixed wall on the LHS, but will require an end panel on the RHS.
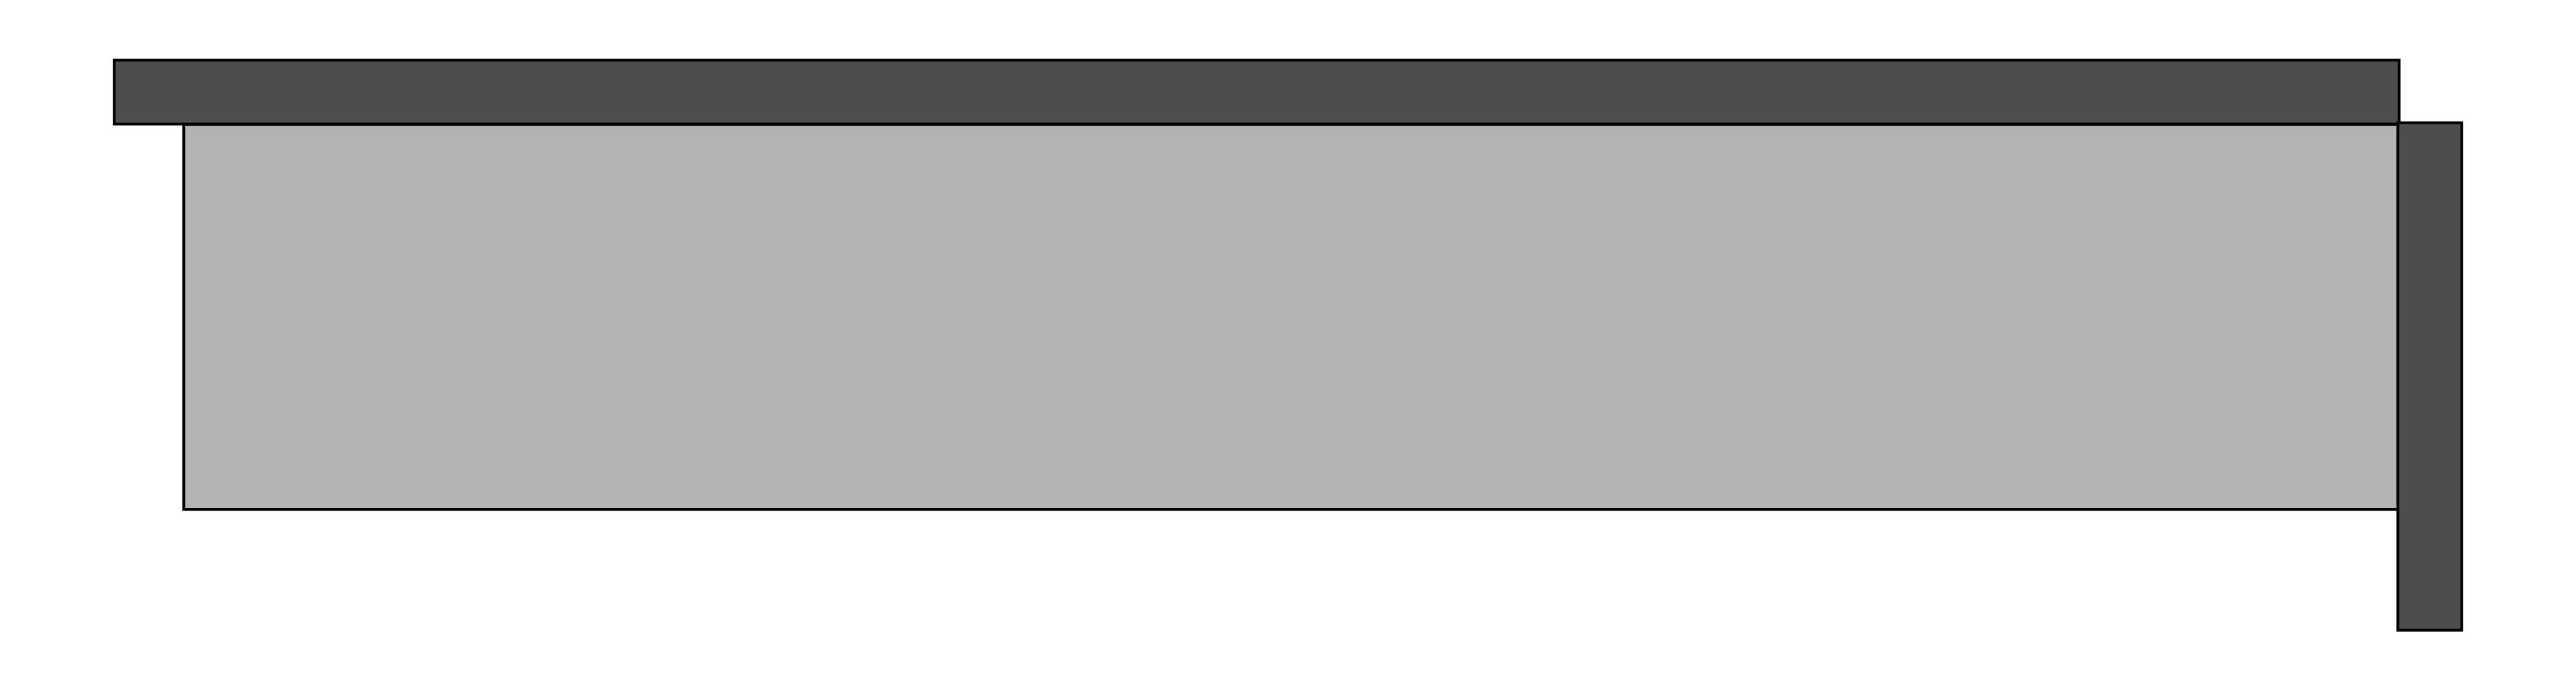
End to Wall
Location of the wardrobe has a fixed wall on the RHS, but will require an end panel on the LHS.
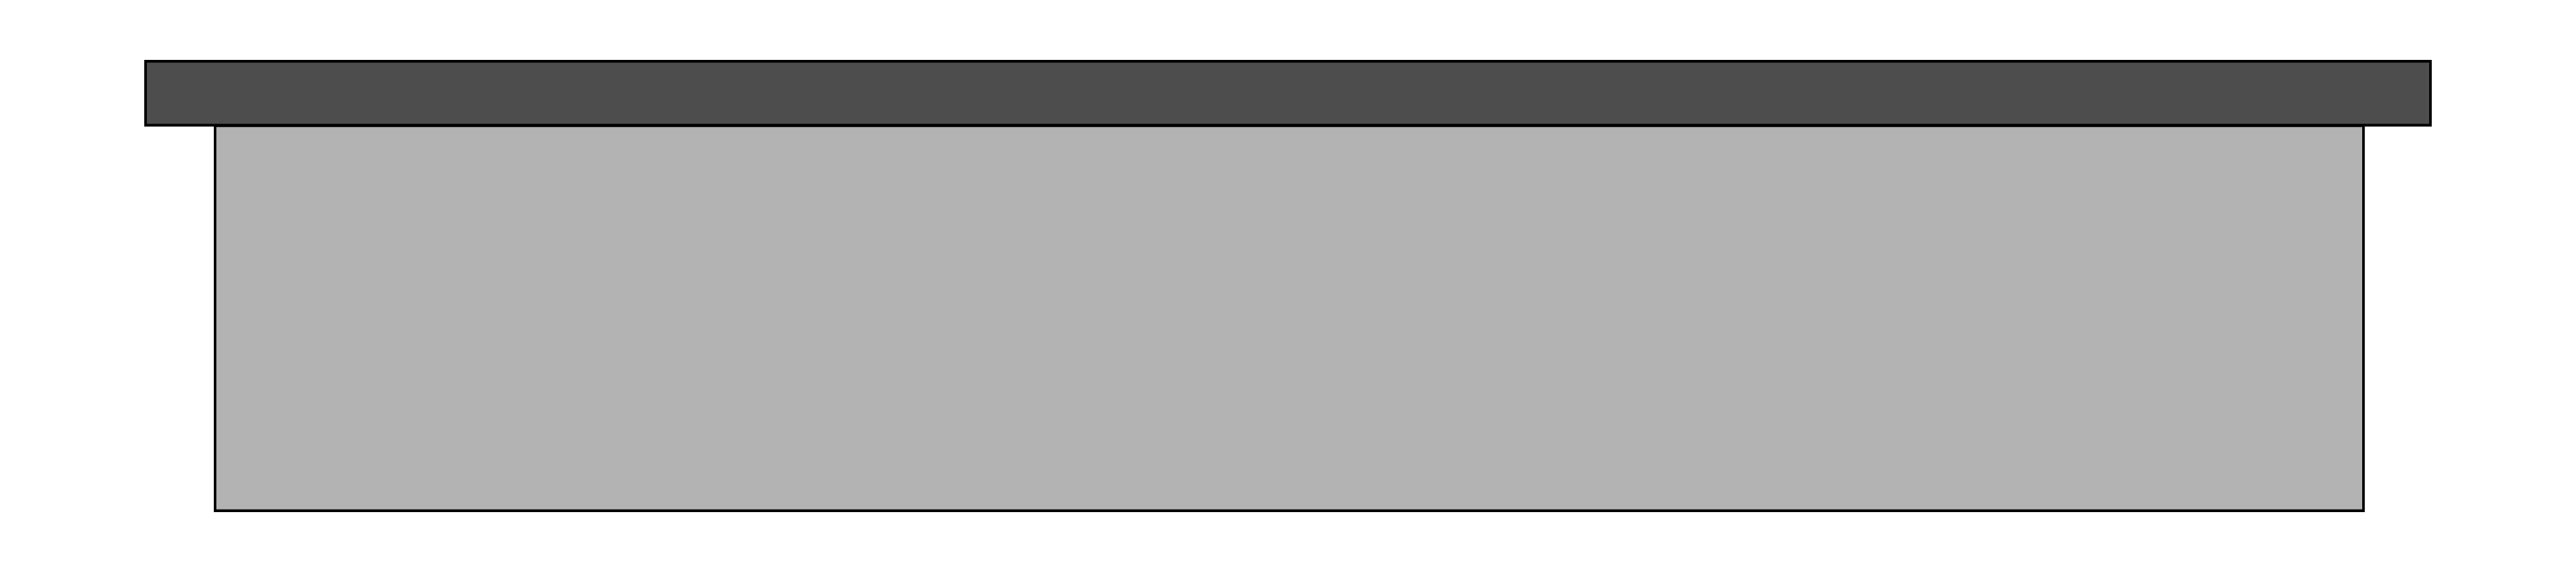
End to End
Where the wardrobe will require an end panel at both ends, therefore it does not abut into any fixed walls.
Important: Height Constraints & Solutions
Our maximum manufactured door height is 2750mm. If your ceiling is higher than this, our system will automatically offer a solution to ensure a professional finish.
Ceiling Height: 2751mm to 2850mm
If your measurement falls within this range, you will be provided with a Pelmet.
- How it works: You will need to "block down" or "build down" from your ceiling so that the top track can fix to your framing at a height of 2750mm.
- The Finish: We provide a colour-matched pelmet to cover the framing, creating a seamless look.
[ Download Oversized Wardrobe Fact Sheet ]
Ceiling Height: 2851mm to 3200mm
For higher ceilings, you will be offered two distinct design options:
- Option 1: Fill to Ceiling (Pelmet) Similar to the option above, this requires you to "build down" from the ceiling to meet the top of the wardrobe. We provide the pelmet to cover the bulkhead, ensuring the wardrobe looks built-in and floor-to-ceiling.
- Option 2: Top Panel This option provides a "Robe Top" or ceiling panel for the wardrobe itself. This is used when you want a finished top to the unit rather than building a structural bulkhead down from the ceiling.
Top Shelf Height & Installation Clearance
Understanding the relationship between your ceiling height and our internal components is essential for a smooth installation.
Top Shelf Height: 2000mm
All myDIY wardrobe internals are manufactured with a fixed top shelf height of 2000mm. This means all vertical uprights are cut to exactly 2000mm, with the top shelf sitting on top of them.
Track Fixing: Floor to Ceiling
Our sliding door systems are designed as a true floor-to-ceiling solution:
- Top Track: Screws directly into your ceiling (or your built-down pelmet).
- Bottom Track: Screws directly into your floor.
The Low-Clearance Challenge
Because our doors are floor-to-ceiling, but our internals stop at 2000mm, you must consider the physical space available to secure the top shelf to the uprights.
- The Problem: If you specify a low ceiling height—for example, 2100mm—you only have a 100mm gap between the top shelf and the ceiling. 100mm is not enough room to fit a standard drill to screw down through the top shelf into the uprights.
Your Solutions for Low Ceilings
If you are working with a low-clearance space, you have two main options:
- Modify the Uprights: You can manually cut the top off the vertical uprights to lower the overall internal height, giving you more room to work. Important: If you do this, you must consider the pre-drilled holes for drawer units and shelving to ensure everything still aligns.
- Order Doors Only: If the 2000mm internal height does not suit your specific space or installation needs, you can choose to order "Doors & Tracks Only" through our platform and source or build your own bespoke internal shelving.
Understanding Our Door Height Calculations
We use the height measurement of your space to calculate the height of the doors. Subtracting the total height of our 'track kit' components and allowing 24mm of play.
- Floor Plate (16mm)
- Bottom Track (10mm)
- Top Track (1.2mm)
- Play (24mm)
*This is assuming there is no pelmet, adding a pelmet would add a 16mm head plate above the top tracks.
24/7 Instant Quoting
& Ordering
& Ordering
Delivery Across Metro
& Regional SA
& Regional SA
Fast 10-15 Day
Manufacturing
Manufacturing
Fully Custom Made in
South Australia
South Australia

Owned & Manufactured